 (Image via
Underwater basket weaving might sound like an unusual hobby, but it’s a fantastic way to combine creativity with a love for the water. Whether you're looking to try something new or impress your friends with your unique skills, this guide will walk you through everything you need to get started. Let’s dive into the fascinating world of underwater basket weaving!
Getting Started with Underwater Basket Weaving
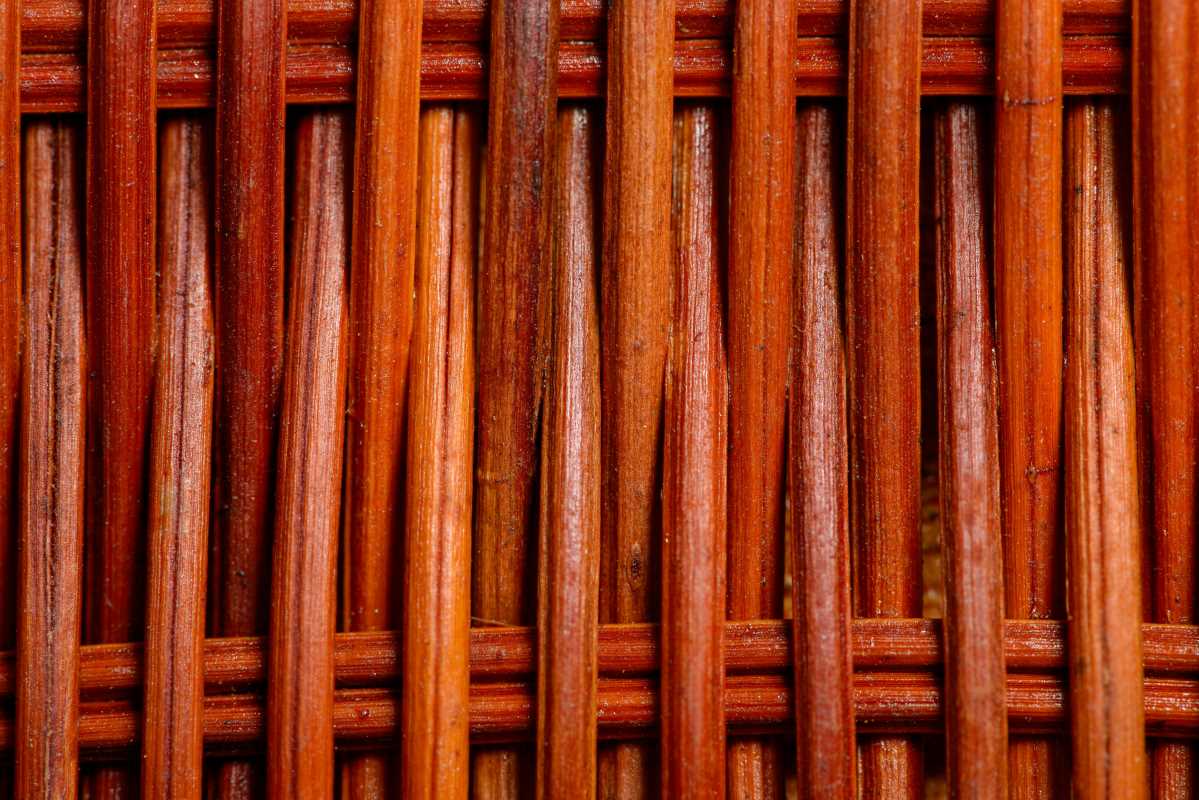
Before you can start weaving, it’s essential to gather the right materials. Unlike traditional basket weaving, underwater basket weaving requires materials that can withstand moisture and resist mold. Natural fibers like rattan, willow, and seagrass are excellent choices because they are durable and flexible. You’ll also need strong, waterproof thread or cord to hold your basket together securely.
Preparation is key to a successful weaving experience. First, familiarize yourself with the area where you plan to weave. Whether it's a pool, lake, or the ocean, ensure the water is clean and free from any debris that could interfere with your weaving. It’s also a good idea to practice holding your materials underwater to get comfortable with the buoyancy and resistance you’ll encounter while weaving. Taking these initial steps will set a solid foundation for your underwater basket weaving journey.
Essential Tools and Materials
- Natural Fibers: Rattan, willow, or seagrass provide the flexibility and strength needed for weaving.
- Waterproof Thread or Cord: Essential for securing your basket structure underwater.
- Scissors: Use sharp scissors to cut your fibers and thread with precision.
- Waterproof Gloves: Protect your hands from any abrasions and help manage slippery materials.
- Weaving Frame: A lightweight frame that can float, helping you maintain the shape of your basket.
- Buoyancy Aid: Items like a flotation belt or harness to keep you afloat and steady while weaving.
Step-by-Step Weaving Techniques
- Setting Up Your Frame: Begin by assembling your weaving frame. Ensure it is securely fastened and can float without tipping over. This will serve as the foundation for your basket.
- Preparing the Fibers: Soak your natural fibers in water for about 30 minutes to make them more pliable. This helps prevent breakage and makes the weaving process smoother.
- Starting the Base: Anchor your first set of fibers around the frame’s base. Create a sturdy foundation by weaving the fibers tightly and evenly.
- Building Up the Sides: Gradually add more fibers, weaving them in and out of the base structure. Maintain a consistent pattern to ensure your basket is balanced and symmetrical.
- Shaping the Basket: Adjust the tension and placement of your fibers to shape the basket. Use your hands to gently mold the basket into the desired form.
- Securing the Edges: Once the basket reaches your preferred height, secure the top edges by weaving in extra threads. This will prevent the basket from unraveling underwater.
- Finishing Touches: Trim any excess fibers and reinforce weak spots with additional thread. Ensure all parts of the basket are securely fastened.
Mastering these techniques takes practice, so don’t get discouraged if your first few attempts aren’t perfect. Pay attention to the tension of your threads and the placement of your fibers. Over time, you'll find a rhythm that works best for you, making the weaving process more intuitive and enjoyable.
Common Challenges and How to Overcome Them
One of the primary challenges in underwater basket weaving is managing the buoyancy of your materials. Unlike on land, your fibers and threads will float, making it difficult to keep them in place. To combat this, use heavier natural fibers or anchor your materials to the frame more securely. Additionally, the water can cause your threads to slip, so using a good waterproof thread and applying consistent tension is crucial.
Another common obstacle is maintaining clarity of vision underwater. Water can distort the way you see your work, making precise weaving tricky. Wearing polarized goggles can help reduce glare and improve visibility. Additionally, practicing in calmer waters can make it easier to focus on your weaving without worrying about waves or strong currents disrupting your work.
Advanced Techniques for the Ambitious
Once you’ve mastered the basics, you might be ready to explore more complex weaving patterns and structures. One advanced technique is the incorporation of mixed fibers, combining different types of natural materials to create unique textures and patterns. Experimenting with various fiber thicknesses and colors can add depth and interest to your baskets.
Another sophisticated method involves intricate knotting and looping, allowing for more detailed and decorative designs. Learning these advanced techniques can take your underwater basket weaving skills to the next level, enabling you to create truly one-of-a-kind pieces. It’s best to attempt these methods once you are comfortable with the foundational skills, ensuring you can handle the added complexity without frustration.
Underwater basket weaving is a rewarding and unique craft that combines creativity with the tranquility of being submerged. By following this guide and practicing regularly, you can develop the skills needed to create beautiful underwater baskets. Embrace the challenges, enjoy the process, and let your imagination flow as you weave beneath the waves.


.jpeg)