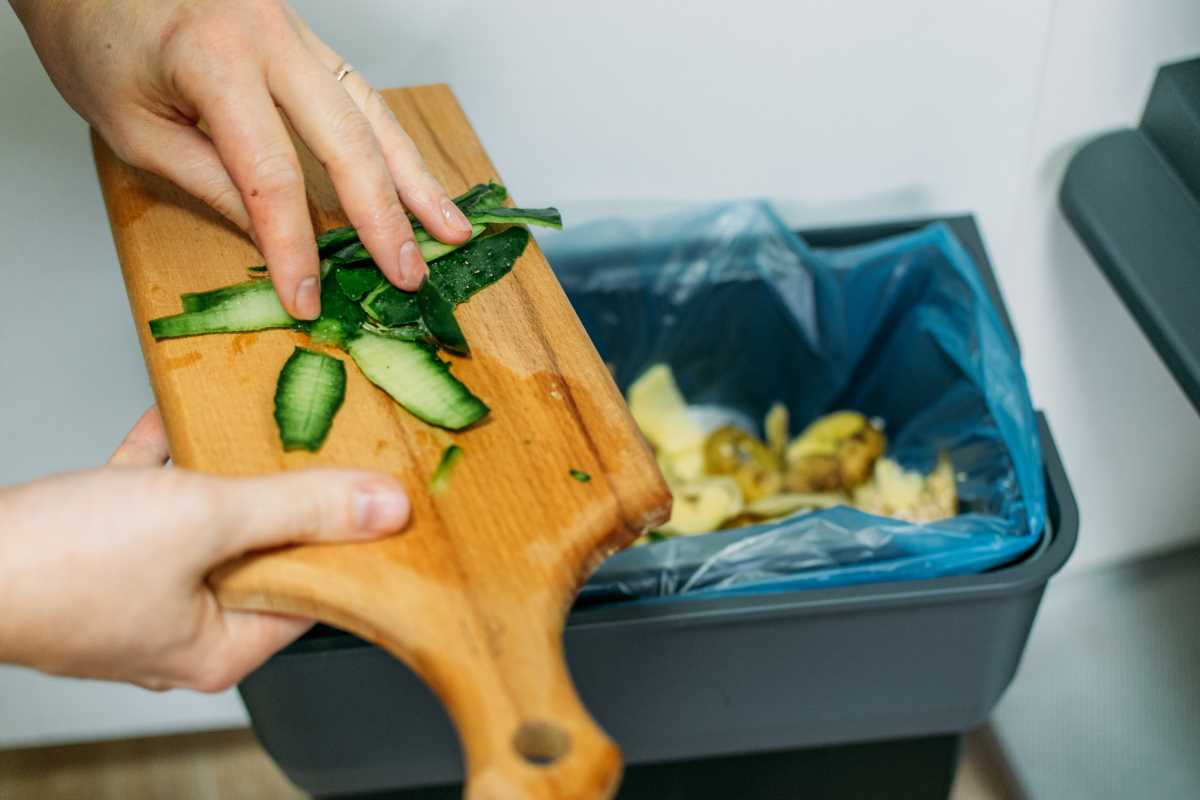
Imagine transforming the kitchen scraps you usually toss out into a palette of beautiful, vibrant colors for your projects. By making natural dyes, you not only give those leftovers a second life but also add a unique, personal flair to your fabrics or crafts. This creative process is not only practical and sustainable, but it also provides an enjoyable and educational experience. With just a handful of everyday ingredients from your pantry, you can embark on a colorful journey that combines art and eco-consciousness. It's a delightful way to spend your time, turning ordinary moments into extraordinary creations.
Why Use Natural Dyes?
- Eco-Friendly: Reduces waste by repurposing kitchen scraps.
- Non-Toxic: Safer for your skin and the environment compared to synthetic dyes.
- Unique Colors: Each batch produces a distinct shade, giving your work a one-of-a-kind look.
- Cost-Effective: Utilizes materials you already have at home, saving money on art supplies.
- Educational: A great way to learn about chemistry and sustainability.
Materials Needed
- Kitchen Scraps: Onion skins, beet tops, avocado pits, red cabbage, or turmeric.
- Fabric: Natural fibers like cotton, silk, or wool work best.
- Large Pot: Stainless steel or enamel pots are ideal for boiling.
- Strainer: To separate the dye from the plant materials.
- Mordant: Such as alum, to help fix the dye to the fabric.
- Water: For soaking and boiling the materials.
- Stove or Heat Source: To simmer the dyes.
- Gloves: Protect your hands from stains and hot liquids.
Step-by-Step Guide to Creating Natural Dyes
- Prepare Your Fabric: Wash the fabric to remove any sizing or impurities. Soak it in a mordant solution (following package instructions) to help the dye adhere better.
- Collect and Prepare Kitchen Scraps: Choose your desired scraps and chop them into smaller pieces to maximize surface area for dye extraction.
- Boil the Scraps: Place the prepared scraps in the pot and cover them with water. Bring the mixture to a simmer and let it cook for about an hour to fully extract the colors.
- Strain the Dye: After simmering, strain the liquid to remove all solid materials, leaving you with a smooth dye solution.
- Dye the Fabric: Add the pre-treated fabric to the dye bath. Stir gently and let it soak for at least an hour, or longer for deeper colors.
- Rinse and Dry: Remove the fabric from the dye bath, rinse it under cool water until the water runs clear, and then hang it to dry away from direct sunlight.
Tips and Tricks for Best Results
- Use a Good Mordant: This helps the dye bond with the fabric, resulting in more vibrant and long-lasting colors.
- Experiment with Concentration: More scraps or longer boiling times can intensify the color.
- Test on Small Samples: Before dyeing the entire fabric, try a small piece to see how the color turns out.
- Mix Scraps for Unique Shades: Combining different kitchen scraps can create unexpected and beautiful hues.
- Handle with Care: Wear gloves to prevent staining your hands and clothes during the dyeing process.
Creative Uses for Your Natural Dyes
Once you craft your natural dyes, the possibilities are endless. You can create custom clothing, art pieces, or even personalized gifts for friends and family. Whether you design a unique scarf, paint a decorative piece, or experiment with eco-friendly fashion, natural dyes offer an array of creative opportunities.
Creating natural dyes fosters creativity and sustainability, adding a personal and eco-friendly touch to your projects with everyday kitchen scraps.
 (Image via


.jpeg)
