Soft shadows and gentle pools of light create a unique atmosphere that often goes unnoticed when you reach for your camera in darker spaces. Warm candlelight, colorful theater illumination, and the quiet anticipation of a dim auditorium can reveal striking emotion through subtle contrasts and glowing outlines. When you focus on the way light interacts with your surroundings, each shadow becomes a potential story and every illuminated spot adds a sense of drama. Embracing these conditions allows you to create photographs rich with mood and depth, capturing the essence of the moment even when the scene feels hidden from view.
Unveiling the Atmosphere: Turn Shadows into a Story
Low-light indoor photography enables you to paint with shadows instead of hiding from them. When you learn to shape every dark corner, you set the scene for drama, intimacy, and unexpected beauty.
Think of shadows as supporting actors: they create depth, suggest motion, and draw eyes toward illuminated details that matter most. Use high-contrast compositions and let pockets of light guide your viewer through the narrative you build frame by frame.
Essential Gear and Settings for Gritty Indoor Shots
- Fast Prime Lens
- Provides sharper focus at wide apertures.
- Steps:
- Pick a 50mm f/1.8 or similar lens to maximize light intake.
- Mount it on a full-frame or crop sensor camera.
- Keep it steady by bracing against a wall or railing.
- Cost: under $200.
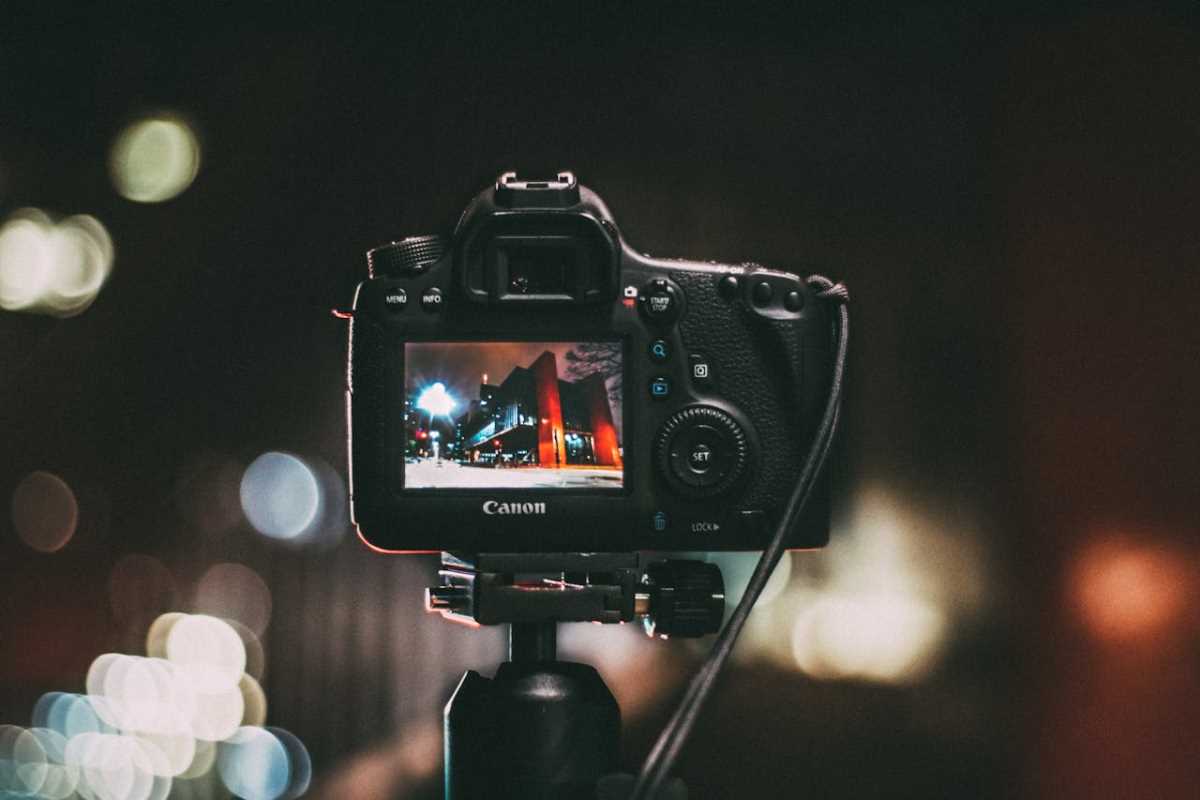
- Insider tip: Pre-focus on a mid-range distance where subjects often stand to reduce hunting in low contrast.
- High-ISO Capability
- Allows you to maintain shutter speed without blur.
- Steps:
- Set ISO between 1600 and 3200.
- Watch noise levels on your camera’s preview screen.
- Adjust ISO in 1/3-stop increments to find the right balance.
- Availability: most modern mirrorless or DSLR cameras include this feature.
- Insider tip: Use in-camera noise reduction sparingly to preserve fine details and textures.
- Stable Support
- Stabilizes long exposures without tiring you out.
- Steps:
- Use a compact tabletop tripod or beanbag.
- Place it on surfaces like seated platforms or speaker boxes.
- Lock your camera’s angle before shooting.
- Cost: $25–$50 for a versatile beanbag.
- Insider tip: Slip a microfiber cloth under the beanbag to prevent sliding on polished floors.
- Manual Focus Override
- Ensures sharp subjects in dim light.
- Steps:
- Turn off autofocus.
- Enable focus peaking if supported.
- Slowly turn the focus ring until edges glow in your viewfinder.
- Availability: common in most mirrorless cameras.
- Insider tip: Pre-focus on a constant element (e.g., stage prop) to speed up framing.
- Fast Shutter Fallback
- Freezes motion in unpredictable environments.
- Steps:
- Use shutter speed no slower than 1/60 sec for handheld shots.
- Combine with wide aperture and high ISO.
- Check histogram after each shot to avoid underexposure.
- Cost: included with every camera.
- Insider tip: When people move quickly, time your shots during pauses to minimize blur.
Practical Techniques: Real-World Low-Light Tips
- Pre-Light Scanning
- Walk the venue before the event begins.
- Steps:
- Observe how natural light spills through windows or doors.
- Mentally mark prime shooting zones or take quick reference shots.
- Check how lamps or stage lights affect color temperature.
- Cost: zero dollars.
- Insider tip: Take a few test shots and review on a laptop to spot hotspots or deep shadows.
- Subject Isolation
- Use depth to separate your subject from busy backgrounds.
- Steps:
- Set aperture around f/1.8 or f/2.0.
- Position yourself perpendicular to the light source.
- Keep at least six feet between subject and background.
- Measure: aim for bokeh that softens background elements into shapes.
- Insider tip: Frame hands or faces against darker areas for emphasis.
- Reflective Bounce
- Create subtle fill light without flash.
- Steps:
- Use a collapsible reflector or white poster board.
- Angle it toward your subject off-camera.
- Adjust distance until shadows soften but highlights remain intact.
- Cost: reflectors start at $15.
- Insider tip: Line budget reflectors with gaffer tape to prevent creases and glare.
- Continuous Burst Mode
- Capture fleeting expressions in low light.
- Steps:
- Enable high-speed shooting at 3–5 fps.
- Track subjects as they move through lit and unlit zones.
- Select the best frames immediately to reduce buffering.
- Availability: most cameras include this feature.
- Insider tip: Save the first frames—autofocus often locks by the second or third frame.
- Color Temperature Matching
- Balance ambient and artificial light smoothly.
- Steps:
- Identify the dominant source (e.g., warm tungsten or cool LEDs).
- Set custom white balance using a gray card.
- Lock settings to avoid chasing tints.
- Measure: target 3000–4000K in typical indoor venues.
- Insider tip: If lights shift during a performance, switch to auto white balance and adjust in post.
Creative Composition: Framing and Moving in the Dark
After mastering your gear, experiment with angles that exaggerate light streaks and silhouettes. Tilt your camera slightly to add a sense of motion that mirrors a dancer’s spin or a speaker’s gesture. Incorporate foreground elements like chandeliers or curtains to add layers of depth.
Use leading lines created by beams of light or rows of chairs. They guide the eye through shadows and highlight illuminated subjects. Frame a face behind semi-transparent fabrics or smoke to add mystery and narrative tension.
Post-Processing Tips for Authentic Low-Light Finishes
Enhance hidden colors without overdoing your shot. Start by adjusting exposure curves to gently lift midtones, then dial back highlights to recover any areas that are too bright. Apply selective color adjustments in the orange and blue channels to restore skin tones and ambient glows.
Avoid excessive noise reduction that makes textures look plastic. Instead, apply noise reduction on a luminance layer while keeping detail layers intact. Finish by sharpening edges around your main subject to add contrast and make it stand out against dim backgrounds.
With these approaches, you can turn difficult indoor environments into dramatic, storytelling photographs that stand out. Embrace the darkness, trust your equipment, and let light guide your creative journey.
 (Image via
.jpeg)
