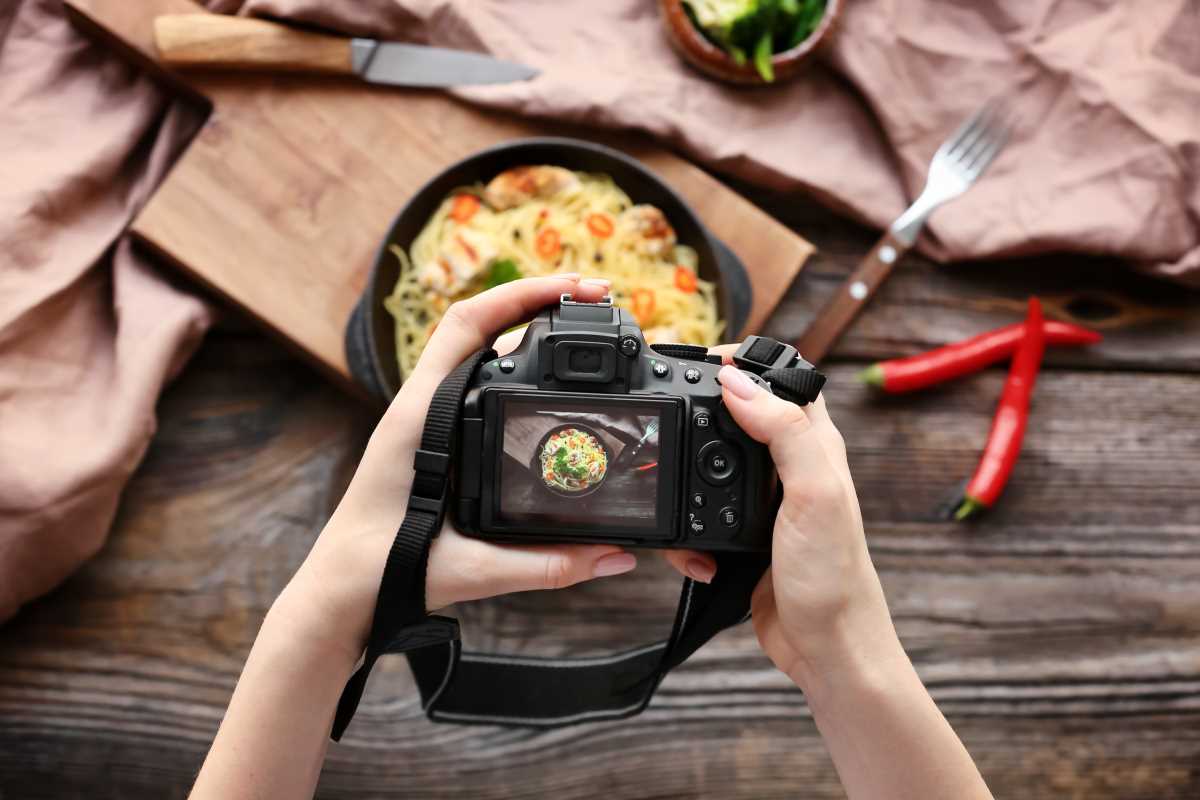
Soft, appealing lighting can make homemade dishes look irresistible in photos. You can achieve professional-looking results without investing in expensive studio equipment. Simple household items allow you to direct light, minimize harsh shadows, and highlight the unique textures of your culinary creations. By experimenting with different angles and adjusting the light’s intensity, you can bring out the vibrant colors and tempting details in every shot. Whether photographing a steaming bowl of soup or a delicate dessert, using natural light and a few common objects can help you capture images that truly do your cooking justice.
This guide walks you through simple tricks for natural and artificial light, camera tweaks, and styling moves that anyone can try. Grab your camera or smartphone, set up in your kitchen, and get ready to shoot appealing meals.
How Light Sources Work
Light direction and quality decide how your food looks. Side light highlights texture, while backlighting adds depth and a glow around transparent dishes. Soft light reduces harsh shadows and makes colors stand out without overexposure.
When you learn Pro-Level Food Photography, you’ll notice subtle shifts in tone that make your images look professional. Here are common light sources at home:
- Natural window light: Soft and even, perfect near a north-facing window.
- Desk lamp or LED panel: Adjustable angle and brightness, easy to bounce with white foam board.
- Smartphone flashlight: Small but powerful, ideal for filling shadows at tight angles.
Try each light source from different angles and distances. Move your plate closer to or farther from the light until you get the right balance between highlights and shadows.
DIY Lighting Tricks for Your Home
You can create a mini studio with household items. These hacks cost less than ten dollars and provide soft, directional lighting typically seen in cafés and cookbooks.
- Reflector from foam board: Cut white poster board into quarters. Place it opposite your light source to bounce soft fill light onto your plate.
- DIY diffuser: Stretch a white shower curtain or parchment paper across a frame. Position it between your lamp and dish to soften harsh glare.
- Cookie tray reflector: Use a shiny baking tray under your dish, angled to catch light and reflect warm highlights upward.
- Clamp light stand: Clip a desk lamp to a stack of books or a sturdy chair. This setup allows you to adjust height and tilt easily.
- Black foam board flag: Cut a small piece to block unwanted reflections or to deepen shadows for moody shots.
These tricks enable you to shape light just like studio lights. Mix and match the reflector and diffuser positions until your dish looks three-dimensional.
Camera Settings and Composition Tips
Use a stable surface for sharp shots. Set up a tripod or stack books under your camera or phone to prevent shaking. Choose a mid-range aperture—around f/5.6 on a DSLR or Pro mode on a smartphone—to keep key details sharp.
Focus on the most appetizing part of the dish, such as the golden crust or glossy sauce. Place that spot along an intersecting point of the rule of thirds grid. This naturally draws the eye and makes your photo feel balanced.
Props and Styling to Improve Lighting
Simple props enhance the mood without overshadowing the food. Wooden boards, neutral linens, or ceramic plates help reflect warm tones. Keep patterns minimal so the food remains the main focus.
Select props that complement your light source. Matte surfaces prevent blinding reflections under artificial lights. A folded kitchen towel can serve as a background color and help trap light at the edges of your frame.
Common Mistakes and How to Prevent Them
Avoid placing your dish too close to a single bright lamp. That causes hot spots and overexposed highlights. Instead, back away the light or add diffusion to match the overall scene brightness.
Don’t leave your camera's white balance on auto. It may shift colors in mixed lighting. Set a custom white balance or select a preset matching your main light—daylight for window shots or tungsten for warm lamps.
Practice these techniques to improve your food photography. Find what works best for your kitchen and style.
.jpeg)