 (Image via
Embarking on the journey of home fermentation can be both exciting and rewarding. Whether you're a culinary enthusiast or looking to boost your health, fermenting your own foods like kimchi and kefir opens up a world of flavors and benefits in your kitchen. This guide will walk you through everything you need to know to get started, ensuring you have a successful fermentation experience.
Understanding Fermentation
- What is Fermentation? Fermentation is a natural process where microorganisms like bacteria and yeast break down sugars and other compounds in food, transforming them into acids, gases, or alcohol.
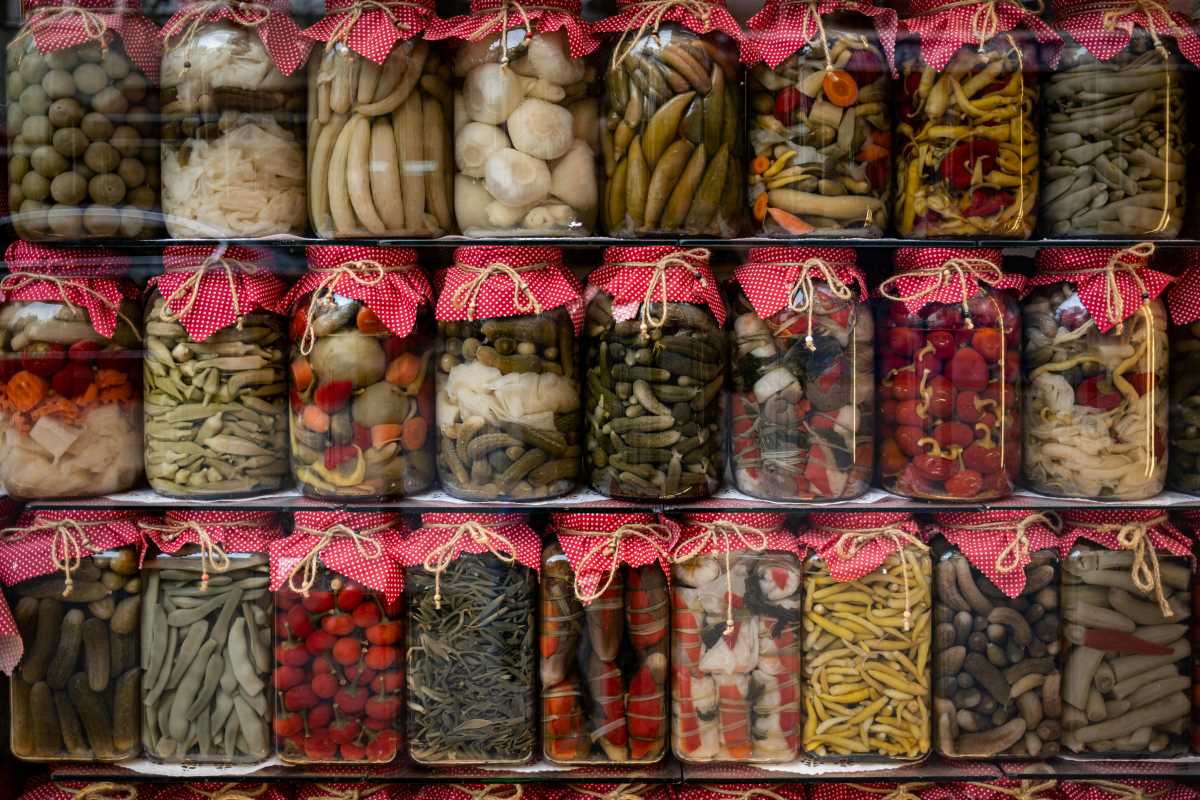
- Preservation: Fermentation helps preserve foods, extending their shelf life without the need for artificial preservatives.
- Enhanced Nutrition: The fermentation process can increase the availability of nutrients, making foods more digestible and boosting their nutritional profile.
- Probiotic Benefits: Fermented foods are rich in probiotics, which support a healthy gut microbiome and overall digestive health.
- Flavor Development: Fermentation adds complex flavors and textures to foods, enhancing your culinary experience.
Essential Tools and Ingredients
You'll need some basic tools and ingredients to start your home fermentation journey. A good quality fermentation vessel, such as a glass jar or a ceramic crock, is essential for creating the right environment for your cultures to thrive. Make sure your containers are non-reactive to prevent any unwanted chemical reactions during the fermentation process.
In addition to containers, you'll need tools like a fermentation weight to submerge your ingredients, airlocks to release gases without letting contaminants in, and measuring spoons and scales for precise ingredient measurements. Quality ingredients, including fresh vegetables for kimchi and active kefir grains, are crucial for successful fermentation. Remember to use non-iodized salt and filtered water to avoid inhibiting the growth of beneficial bacteria.
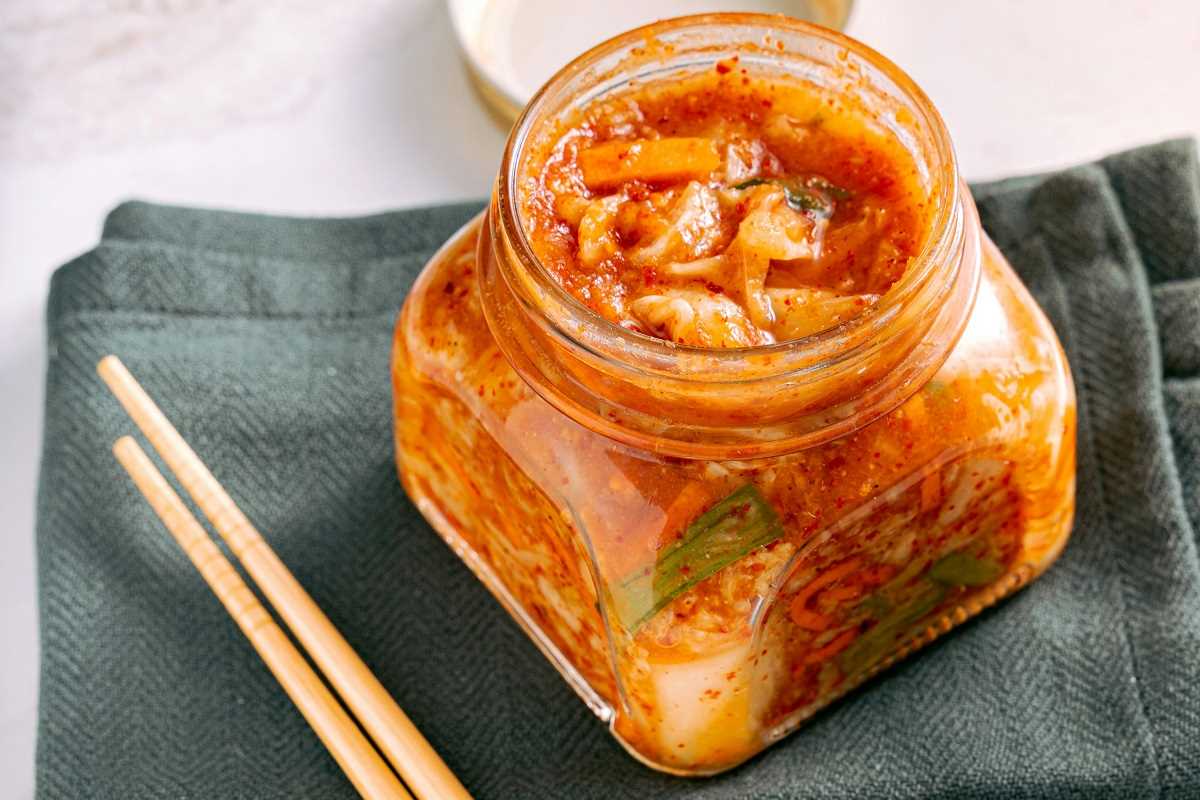
Step-by-Step Guide to Making Kimchi
- Prepare the Cabbage: Start by cutting your napa cabbage into quarters and removing the core. Rinse thoroughly to eliminate any dirt or debris.
- Brine the Cabbage: Dissolve coarse sea salt in water and soak the cabbage for several hours or overnight. This step helps soften the cabbage and draws out excess moisture.
- Make the Kimchi Paste: Combine ingredients like garlic, ginger, Korean red pepper flakes (*gochugaru*), fish sauce, and sugar to create a flavorful paste.
- Mix Vegetables: Add julienned vegetables such as carrots, radishes, and green onions to the paste, ensuring an even distribution of flavors.
- Combine with Cabbage: Thoroughly coat each piece of cabbage with the kimchi paste, making sure every layer is well seasoned.
- Pack into Fermentation Vessel: Transfer the seasoned cabbage into your fermentation container, pressing down firmly to eliminate air pockets and submerge the vegetables in their own juices.
- Ferment: Seal the container and let it sit at room temperature for a few days, checking daily to release gases and ensure the cabbage remains submerged.
- Refrigerate: Once the kimchi reaches your desired level of tanginess, transfer it to the refrigerator to slow down the fermentation process and enjoy it for weeks to come.
Making Your Own Kefir
Making your own kefir is a simple and rewarding aspect of home fermentation. Start by obtaining fresh kefir grains, which are a combination of bacteria and yeast that work together to ferment the milk. Choose high-quality milk from your preferred source, whether it's cow, goat, or a plant-based alternative, to ensure the best flavor and nutrient profile.
Once you have your kefir grains, simply combine them with milk in a clean jar, cover it with a breathable cloth, and let it sit at room temperature for about 24 hours. During this time, the grains will ferment the milk, creating a creamy, tangy beverage packed with probiotics. Strain the kefir to remove the grains, which can be reused for future batches, and enjoy your homemade kefir straight or as a base for smoothies and other recipes.
Common Mistakes and How to Avoid Them
- Using Iodized Salt: Iodine can inhibit beneficial bacteria. Always opt for non-iodized salt like sea salt or kosher salt for fermentation.
- Inadequate Submersion: Not keeping fermenting foods submerged can lead to mold growth. Use fermentation weights or ensure a brine covers all ingredients.
- Contaminated Equipment: Dirty tools and containers can introduce unwanted bacteria. Always sterilize your equipment before use.
- Temperature Fluctuations: Extreme temperatures can affect fermentation. Maintain a consistent, room-temperature environment for the best results.
- Over-Fermentation: Leaving fermenting foods for too long can result in overly sour flavors. Taste regularly and refrigerate once the desired taste is achieved.
Health Benefits of Fermented Foods
Fermented foods like kimchi and kefir offer many health benefits that make them a valuable addition to your diet. The probiotics in these foods play a crucial role in maintaining a healthy gut microbiome, which is essential for digestion, nutrient absorption, and immune function. A balanced gut flora can help alleviate digestive issues such as bloating, constipation, and irritable bowel syndrome.
Beyond gut health, fermented foods are rich in vitamins and minerals that support overall wellness. For instance, *kimchi* is packed with vitamin C and beta-carotene, while kefir provides calcium and vitamin K2, vital for bone health. Additionally, the fermentation process enhances the bioavailability of these nutrients, making them easier for your body to absorb and utilize effectively.
Embracing home fermentation allows you to create delicious and nutritious foods and connects you with traditional food preservation methods. By understanding the basics and following this comprehensive guide, you'll be well on your way to making a variety of fermented favorites that support a healthier lifestyle.


.jpeg)