 (Image via
Creating a pop-up card is a delightful way to add a personal touch to any occasion. Whether you're celebrating a birthday, holiday, or a special event, a handmade pop-up card can convey your sentiments in a unique and memorable manner. In this guide, we'll walk you through the process of crafting the perfect pop-up card, offering tips and ideas to help you unleash your creativity and make something truly special.
Materials Needed
- Cardstock paper in various colors
- Scissors and craft knife
- Ruler and pencil
- Glue stick or double-sided tape
- Decorative elements like stickers, ribbons, and glitter
- Markers or colored pencils for detailing
- Bone folder or a flat tool for creasing
Basic Techniques for Pop-Up Cards
- Choose Your Card Base: Start with a folded piece of cardstock. A standard size is 5x7 inches, but you can adjust based on your design preference.
- Create the Pop-Up Mechanism: Inside the card, make two parallel folds about an inch from the center. These will serve as the base for your pop-up element.
- Design the Pop-Up Element: Cut out the shape you want to pop up, such as a flower, heart, or character. Ensure it's proportional to your card base.
- Attach the Pop-Up: Glue the bottom of your pop-up element to the base folds. Make sure it's securely attached and can move smoothly when the card is opened and closed.
- Add Decorative Details: Enhance your card with colors, patterns, and embellishments to bring your design to life.
Design Ideas for Various Occasions
Birthdays
For birthday cards, consider themes that resonate with the recipient's interests. A pop-up birthday cake, balloons, or fireworks can add a festive flair. Personalize the card with their favorite colors and incorporate messages that celebrate their special day.
Holidays
Holiday pop-up cards can capture the essence of the season. For example, a Christmas card might feature a pop-up tree or ornament, while a Halloween card could showcase spooky motifs like pumpkins or ghosts. Use seasonal colors and decorations to enhance the thematic feel of your card.
Special Events
For occasions like weddings, anniversaries, or graduations, create designs that reflect the significance of the event. A wedding card might include pop-up rings or a bouquet, while a graduation card could feature diplomas or caps. Tailor your design to honor the milestone being celebrated.
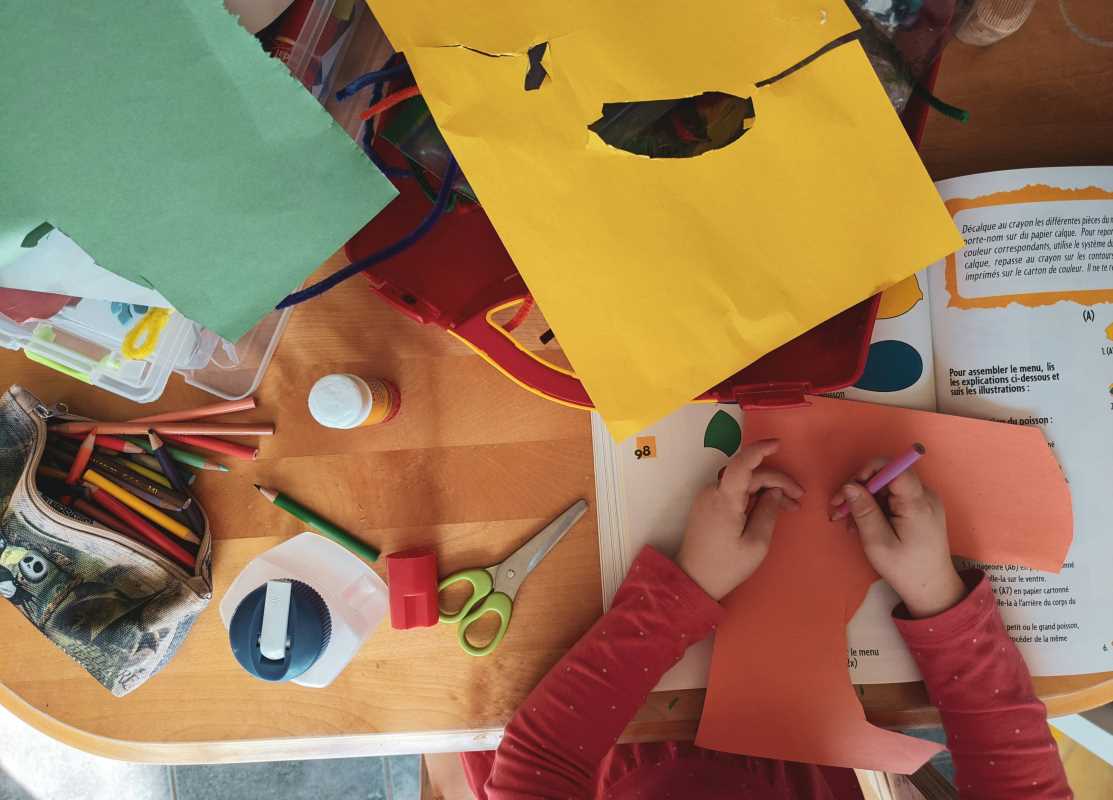
Step-by-Step Guide to Crafting
Ready to dive into creating your own pop-up card? Follow these steps to ensure a smooth crafting experience:
- Select Your Design: Decide on the theme and elements you want to include in your card. Sketch a rough layout to guide your design process.
- Prepare Your Card Base: Fold your cardstock in half to form the base of your card. Use a bone folder to create crisp folds.
- Create the Pop-Up Mechanism: Measure and mark two parallel lines inside the card where the pop-up element will be attached. Fold along these lines to form a tab for attaching your design.
- Design the Pop-Up Element: Cut out your chosen shape from a contrasting color cardstock. Add details like eyes or patterns to give your pop-up character or object more personality.
- Attach the Pop-Up Element: Apply glue to the base tab and secure the pop-up element in place. Ensure it's firmly attached and can move freely when the card is opened and closed.
- Decorate the Card: Enhance your card with additional decorations such as glitter, stickers, or ribbon. Add a heartfelt message to complete your creation.
Common Mistakes to Avoid
When crafting pop-up cards, it's easy to encounter a few common pitfalls. One frequent mistake is overloading the card with too many elements, which can make the design appear cluttered and detract from the overall impact. To maintain a polished look, focus on a central theme and use decorative elements sparingly to complement your main design.
Another mistake to watch out for is improper folding of the pop-up mechanism. If the folds aren't aligned correctly, the pop-up element may not function smoothly and could become stuck or distorted. Take extra care when marking and folding the base lines, using tools like a ruler and bone folder to achieve clean and precise folds.
Creating a pop-up card is a rewarding experience that allows you to express creativity and thoughtfulness. By following these guidelines and avoiding common mistakes, you'll be well on your way to crafting beautiful, personalized cards that delight recipients on any occasion.


.jpeg)